5 DO'S & DONT'S TO ACHIEVE OPTIMAL GROUTING
Water, ironically, can be a well’s worst enemy. That’s why a meticulous grouting job is so important.
1. DON’T CUT CORNERS
No matter how you go about grouting, use this rule of thumb: Think before you pour. The stakes, after all, are extremely high.
2. WELL DESIGN MATTERS
The grouting method is driven by the well design. Is this a 1000-gallon-a-minute well? Is it a 10-gallon-a-minute well? Is it a well that won’t be pumped very hard?’ There are a lot of different ‘what ifs’ that need to be strategized prior to drilling.
Then what kind of pump? And you need to think about your geology too. Are you in hard rock or alluvial? Those will make a difference. Is the aquifer good quality everywhere, or is there a problem somewhere, like contaminated water?
3. DO NOT ‘DUMP & RUN’
This can work for most shallow wells rather than deeper wells. Where you have very shallow aquifers, a well might only be 40 feet deep. The amount of water might limit how far the grout will fall before the bentonite swells up and starts to stick, so you might not get a full seal all the way around your casing. It’s the simplest way, but it’s not always the best.
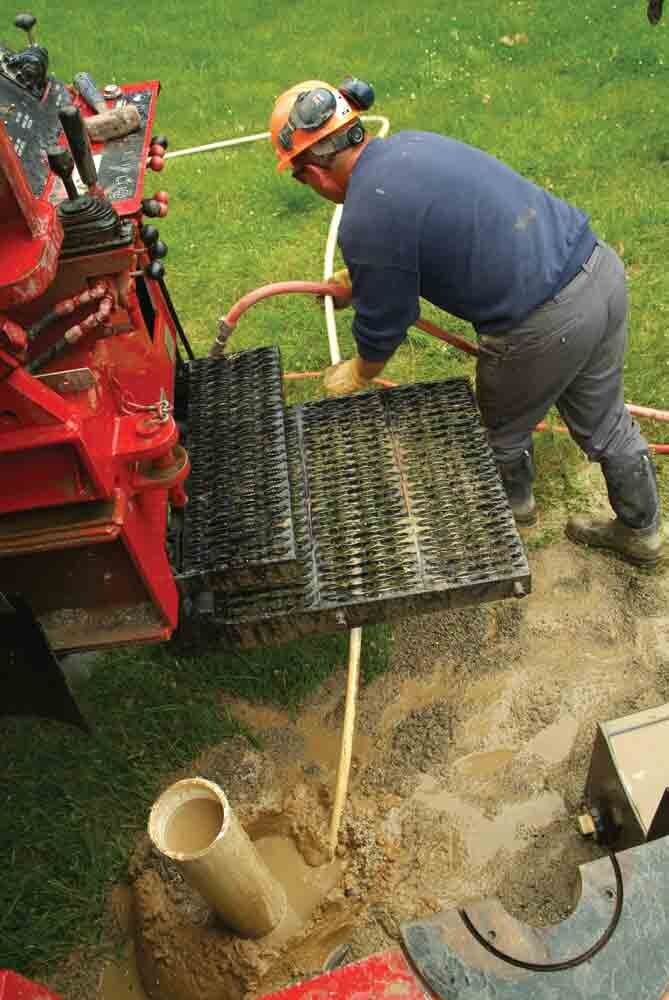
Use of a tremie pipe helps ensure you grout from the bottom to the top.
4. DEEPER THAN 40 FEET?
Use a tremie pipe. The only way you can be assured to get grout from the bottom to the top. Grouting from the bottom to the top is the preferred method to be sure you fill your annular space.
5. GOING REAL DEEP?
Try the Halliburton Method. It’s where you pump grout down inside the casing and out the bottom, out the annular space. In some larger jobs—municipal work or commercial wells that are done—sometimes the engineers spec it in.